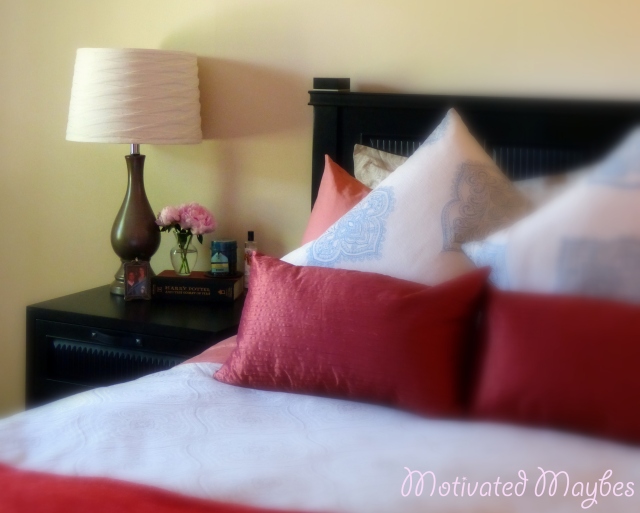
Towards the end of last summer/early fall I bought a new duvet cover and sheets for our bed in an effort to motivate myself to finish the master bedroom. Well, the walls are still the dime-a-dozen-let’s-sell-this-place off-white they were when we bought our home. However, I have done a few things since then: put up some neat shelves, added a few cute pics of Hubs and I, and displayed some of my favorite knick-knackery.
The lamps, though, still matched the old duvet cover and looked ridiculous next to our pretty new bed. So I have been looking for new lamps for a while. But new lamps are so expensive! In an effort to save a buck, and put said buck toward the powder room makeover, I started Google-ing. After some research, I decided I could definitely DIY my way to some prettier lamps.
You will need:
- Lamps to makeover 🙂
- painters tape
- plastic bags to protect the light-bulb-socket-thing and the cord
- Primer spray paint (I used Krylon Primer in Grey)
- Pretty paint (I used Krylon Fusion Hammered Finsih in Brown)
- Fine grit sand paper
- White vinegar
- Paper towels
- Water
- Well ventilated area (outside is best)
- Newspaper or something to protect anything you don’t want painted
First, I taped the plastic bags around the cord and the light bulb socket to protect them from the paint.
Next, I lightly sanded the lamps to give the primer something to hold onto. I rinsed any dust off first with the white vinegar, then a wet paper towel, and waited for the lamp to dry.
Now, I applied the primer. Ok, admittedly Hubs did most of the painting because he has a much steadier hand and more experience with spray paint then I do (zilch). I did do a coat on each (one primer, one paint). How am I ever going to learn if I don’t do it, right?!?
After the primer dried for a couple of minutes, we added the first coat of the Hammered Brown. I think we ended up doing about three coats just to make sure we got good coverage.
I waited about an hour before I removed the plastic and tape, and took them upstairs. I’m really pleased with the way they turned out. They are a little bit shiny with a soft texture.
I added some pretty new shades and, voilà! New lamps.


This is really cute !!!!
Thank you! 🙂
no problem !
Pingback: Strawberry Rhubarb and a Weekend To Do Update | motivated maybes
Pingback: Powder Room Mirror Makeover | motivated maybes
Pingback: Vanity is a Sin… But Face-lifts Are Nice | motivated maybes